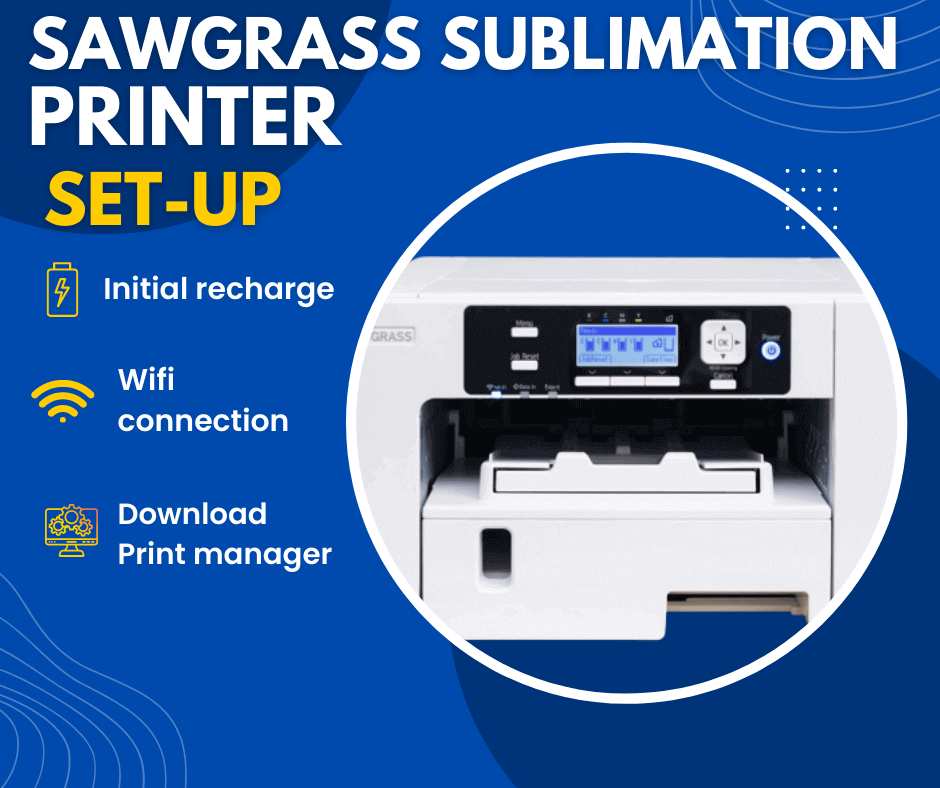
To start sublimation printing you need to set up the Sawgrass sublimation printer first. You don’t need to be tech-savvy to set up a Sawgrass sublimation printer. It’s just like plug-in and play. First, you need to power On and give it an initial recharge, second download the ‘print manager software’, third, set up the wifi connection. Simply follow the following steps to connect a Sawgrass sublimation printer.
Ethernet connection:
Once you have removed the packaging and blue or orange tape from the Sawgrass sublimation printer sg500 or other models.
Plug In the cord of the printer and turn the power button ON. Then it’s time to put the ink cartridges first. Open the front cover and put the ink cartridges one by one. Then give it 7 minutes to recharge. After the initial 7 minutes of recharge, put the paper sheets in the tray.
Sawgrass sublimation printer install kit or guide that’s how simple it is.
Print manager software installation
Now leave the printer and come to your computer.
Download the print manager software to your computer. You can find the print manager download file from the “Sawgrass print manager.pkg”. A download process will appear on the screen. Follow the steps by clicking continue. During the steps, it will ask for the computer password, enter the password so the program will start. Once the software is downloaded, sign in to print manager by opening the downloaded ‘print manager software’.
Wifi connection:
The wifi connection is as easy as just plugging the cable.
- Use the navigational menu on the front side of the printer.
- Push the menu button
- Go to system settings
- Then Go to interface settings
- Select the network option
- Then select LAN network system
- Select Wireless LAN for easy setup
- Click SSID auto search
- Select your network connection and enter the password